ttworldus
Model Y/3 Mud Flaps
Model Y/3 Mud Flaps
Couldn't load pickup availability
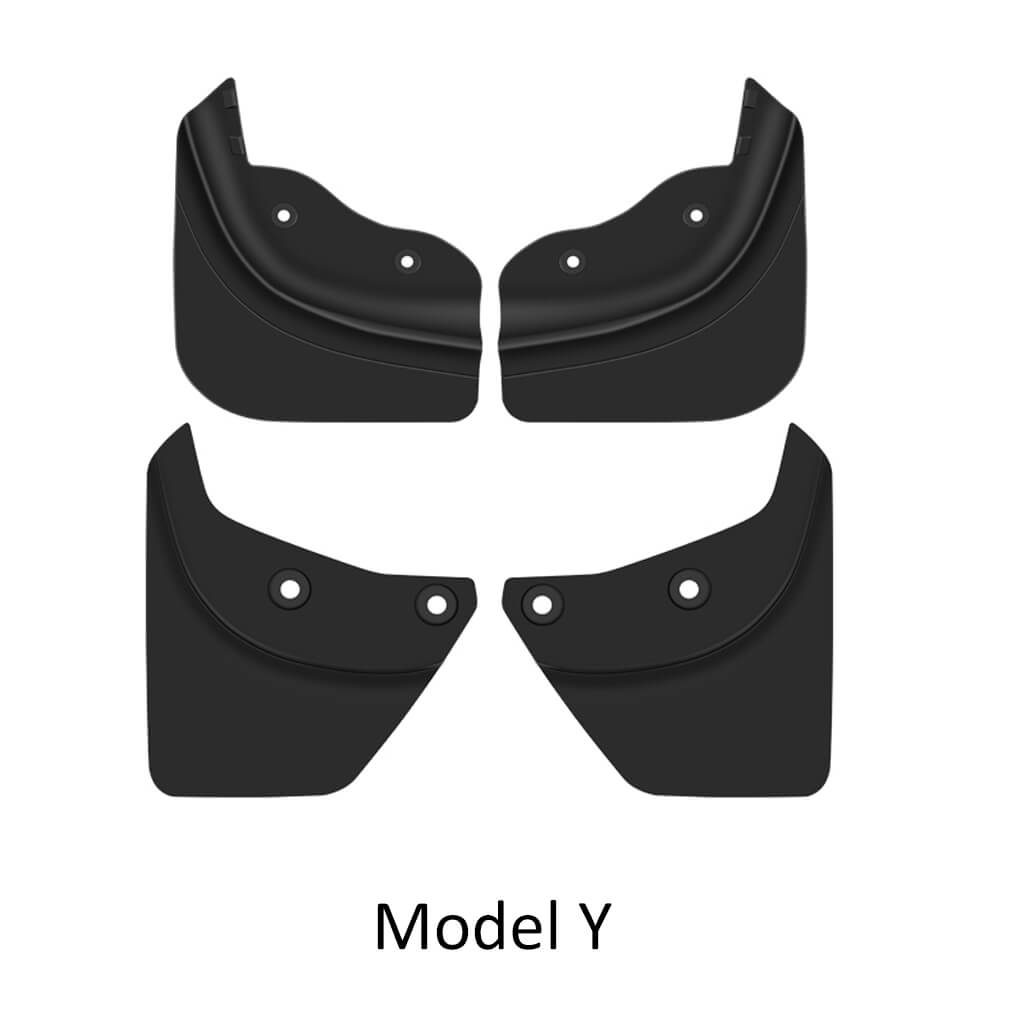
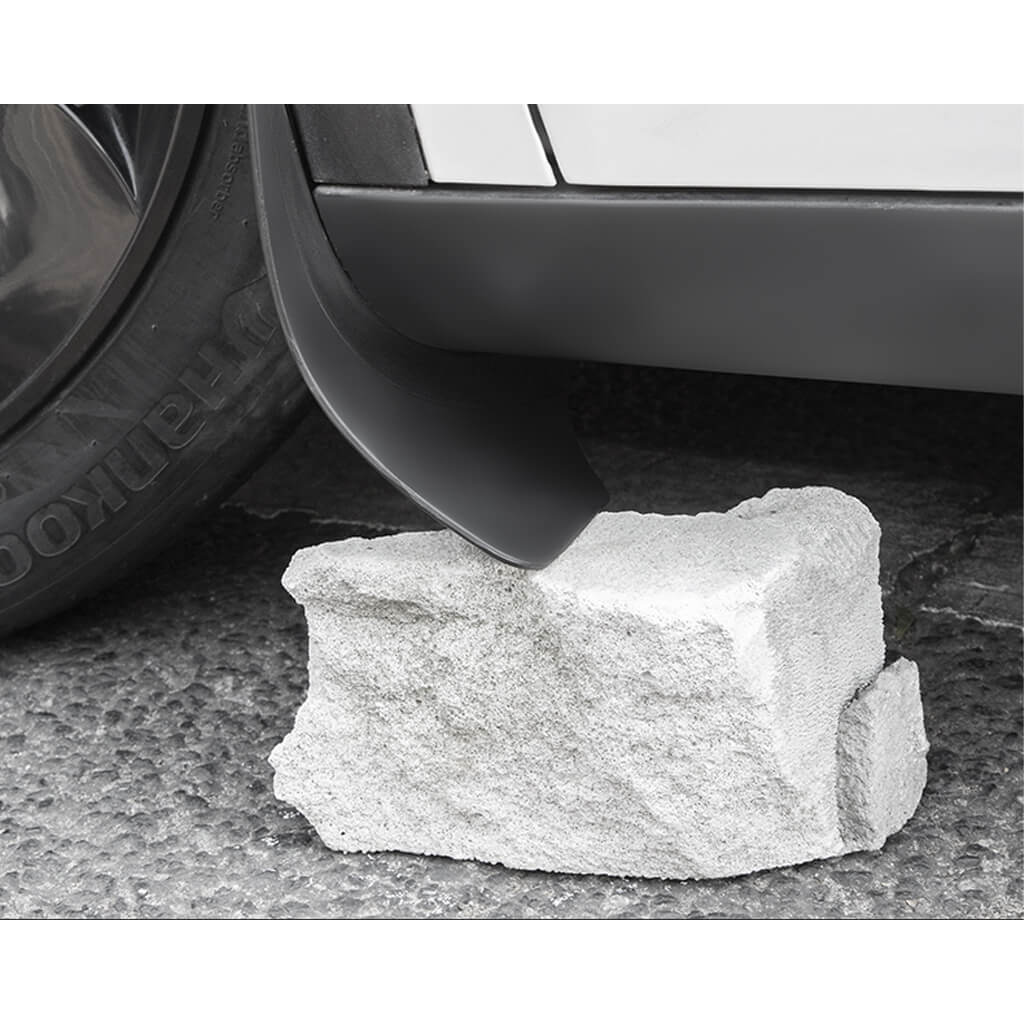
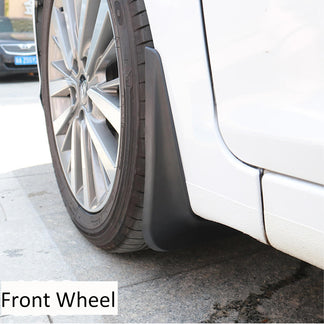
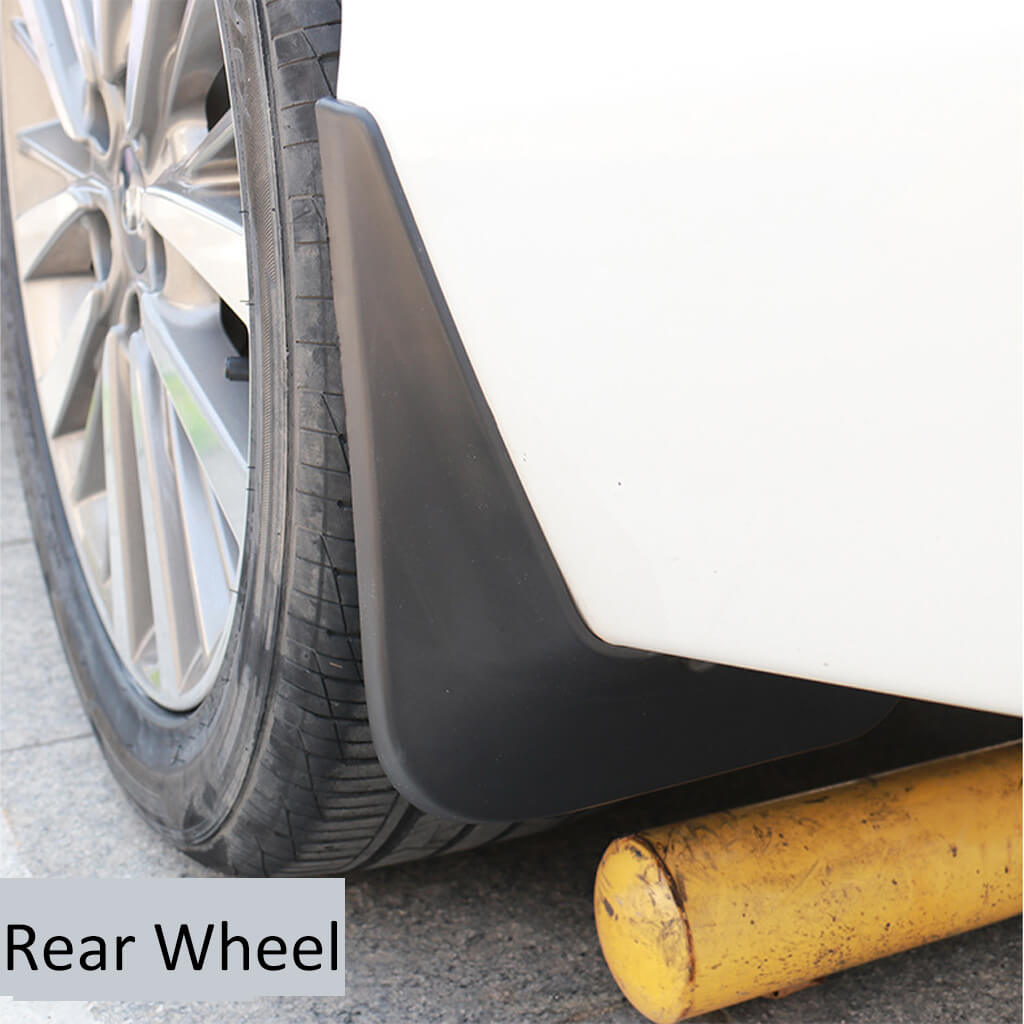
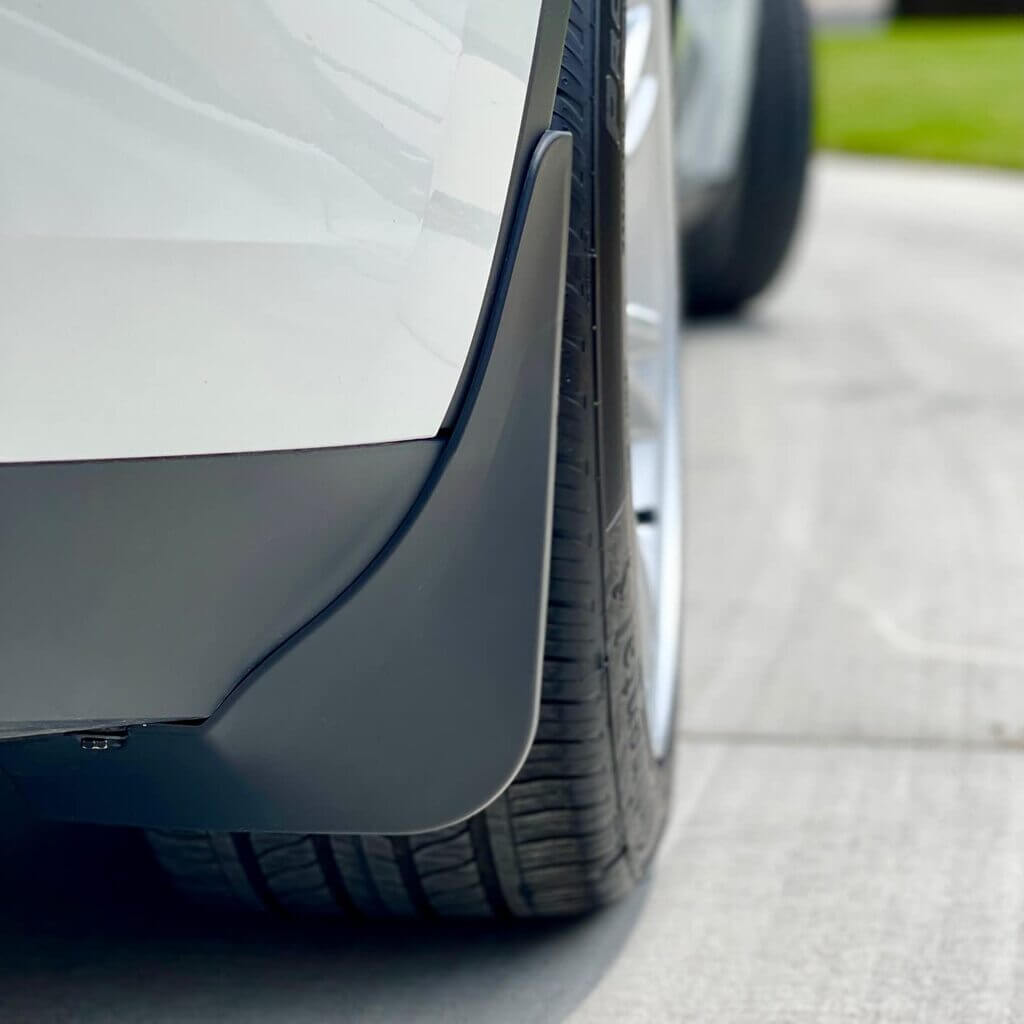
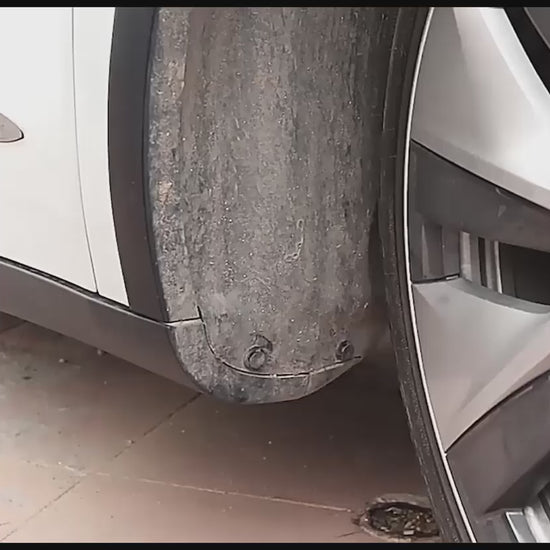
The Model Y/3 was easily damaged by road debris rolled up by the tires. On the other hand, the Model Y/3 has only front flaps and is small and pathetic in rain and snow. Much debris is kept out with our Mud Flaps, reducing the amount of junk on the rocker panels and rear fenders. At the same time, it has a factory look and is easy to install.
Please Note: While we do our best to match all vehicles, please be prepared for some installation issues as each car differs. This includes encountering difficult-to-install push clips, tiny gaps between fenders and bodywork, and more.
Features
- Ample coverage
- Easy install
- Tight fit against the trim on the car
- It's flexible and has stood the test of time
Specifications
Name:Model Y/3 Mud Flaps
Material:TPE
Compat
Compatible with 2016-2023 Model 3 and Model Y
FAQS
Q: Should all holes be pre-drilled? My September 2018 Model seems to be missing the top screw holes in the front.
A: Install the front flap with the two push fasteners, then using a tiny drill bit, drill a hole in the center of the top spot in the flap through the plastic liner. The pilot hole will make it easier to insert the screw to fasten the top of the mudguard. At most, ten minutes per wheel.
Q: Where do the metal clips go? Can they be used to keep the rear guards tight to the vehicle at the top?
A: You remove the existing clips in the wheel well, and you then use then pop in the included socket where the original clips were. The included clips then through the mud flap into that socket in the wheel well. The rears are similar, but you unscrew a bolt under the car, install the mud flap, and then use the existing bolt to hold it on.
Q: What size are the screws?
A: There are no screws. It's the same type of locking bolts that all cars use.
Q: I was able to install front mudguards with two plastic screws, but metal clips do not install. Is it safe to drive without front metal clips?
A: You will find driving them without the clips. Please ensure that you are inserting the hooks through the specific place. I made the same mistake initially, trying to insert toward the top portion of the fender rather than the middle part.
Q: So what is the tape for, where does it go, why does the install video not cover it, and why does it say Gen2 is no drill when it's not?
A: It's for a model 3. It comes with extra stuff if you want to use it. No drill was needed.
Shipping
1. Free Shipping: over $24.99 USA and UK (excluding overseas islands and some remote areas)
2. Shipping fee is $10 for the France, Germany, Australia, and Canada
3. Delivery time: 7 to 15 working days
4. We use air freight to expedite the delivery of your purchased products
5. For more help, please feel free to Contact US.
Share
